|
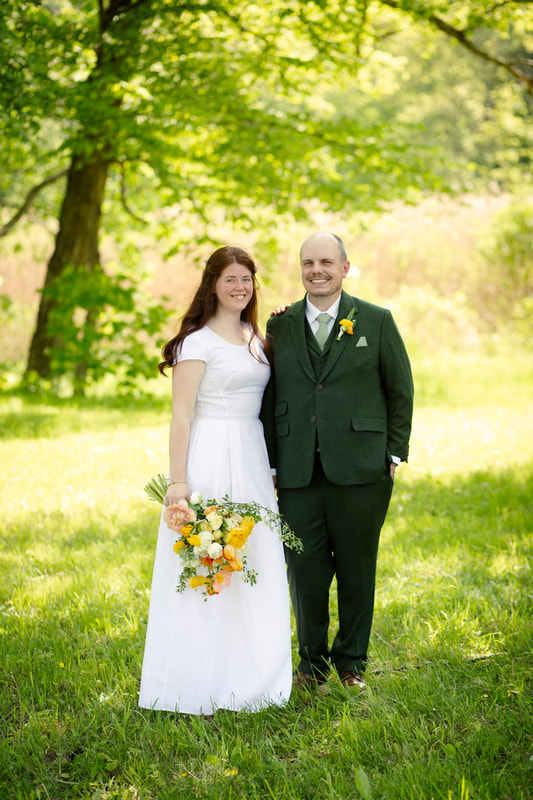
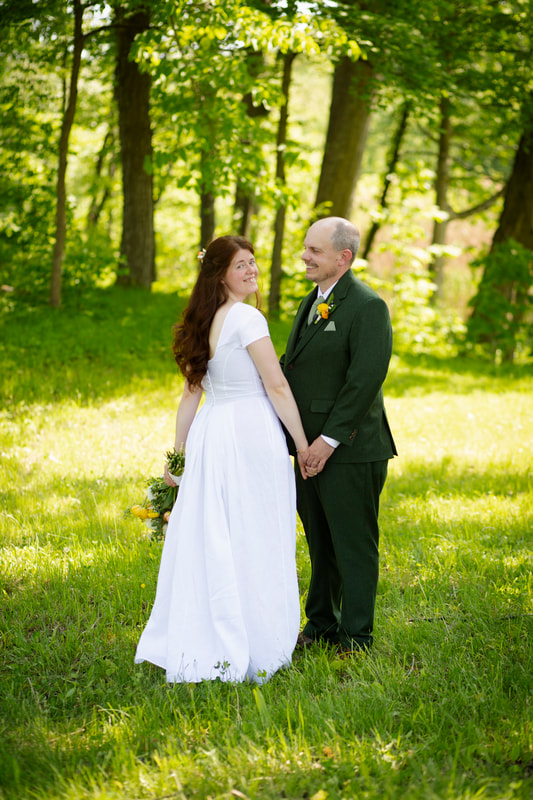
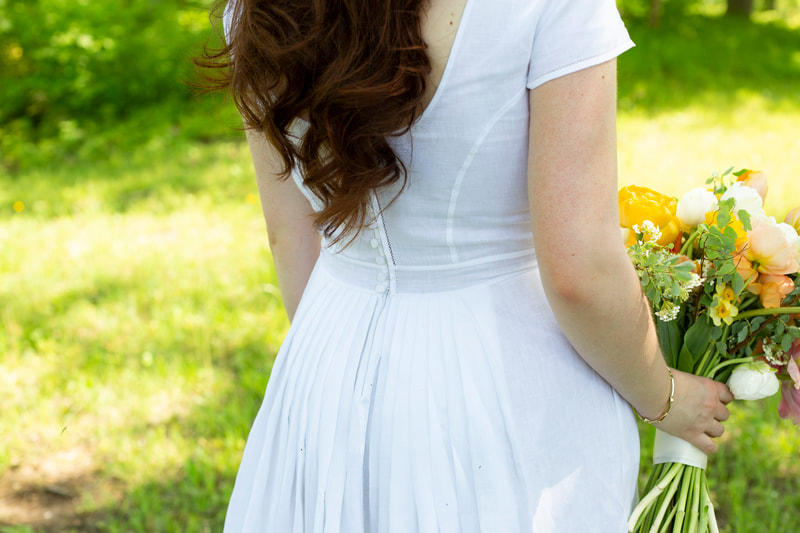
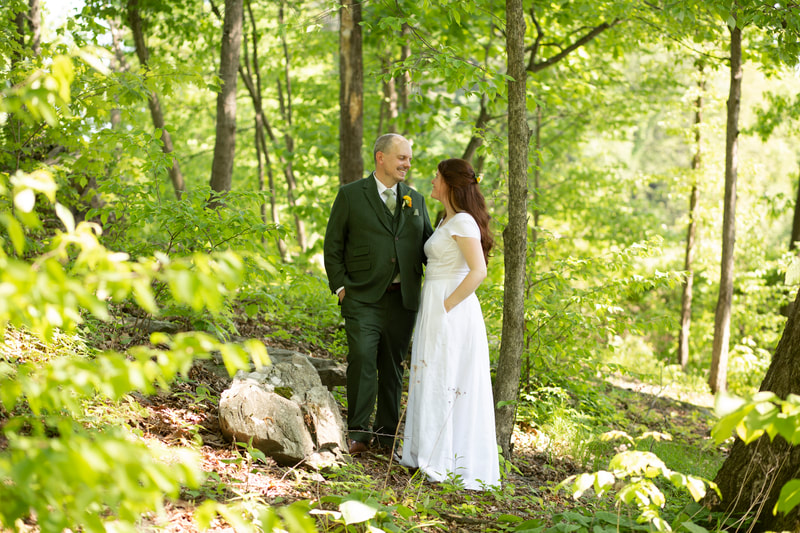
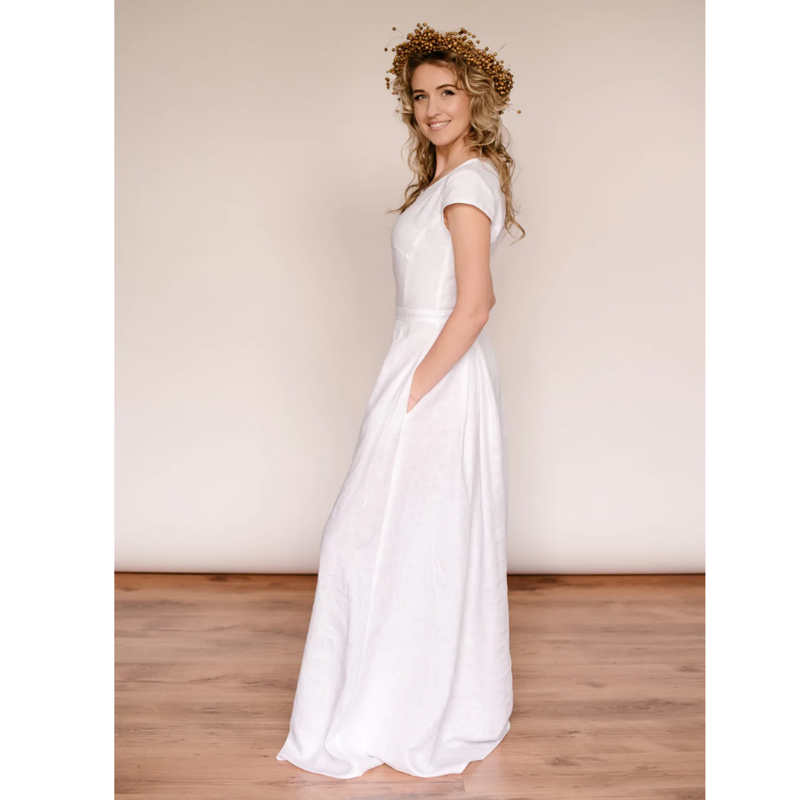
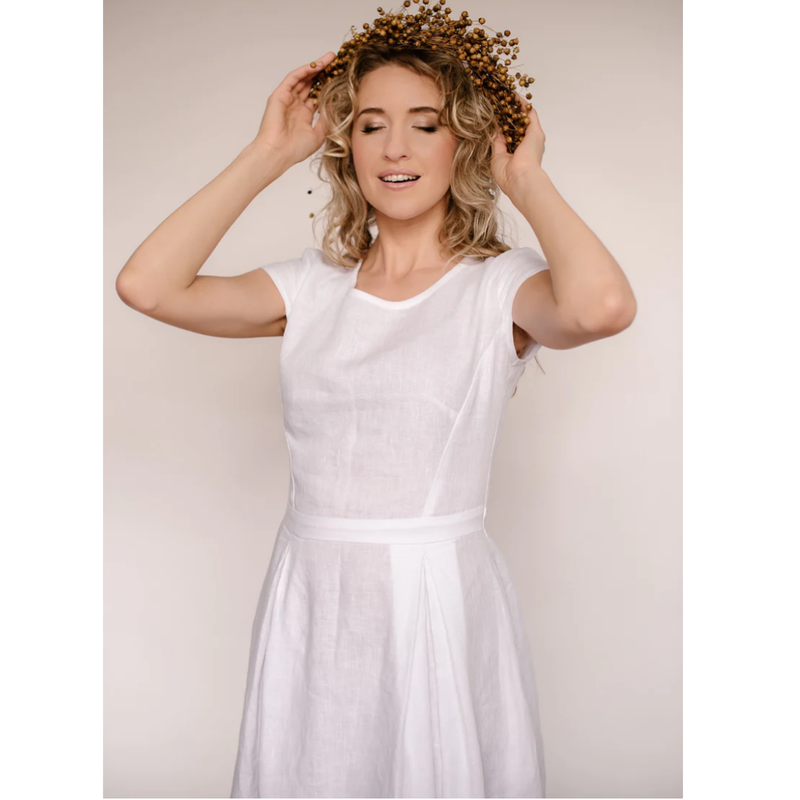
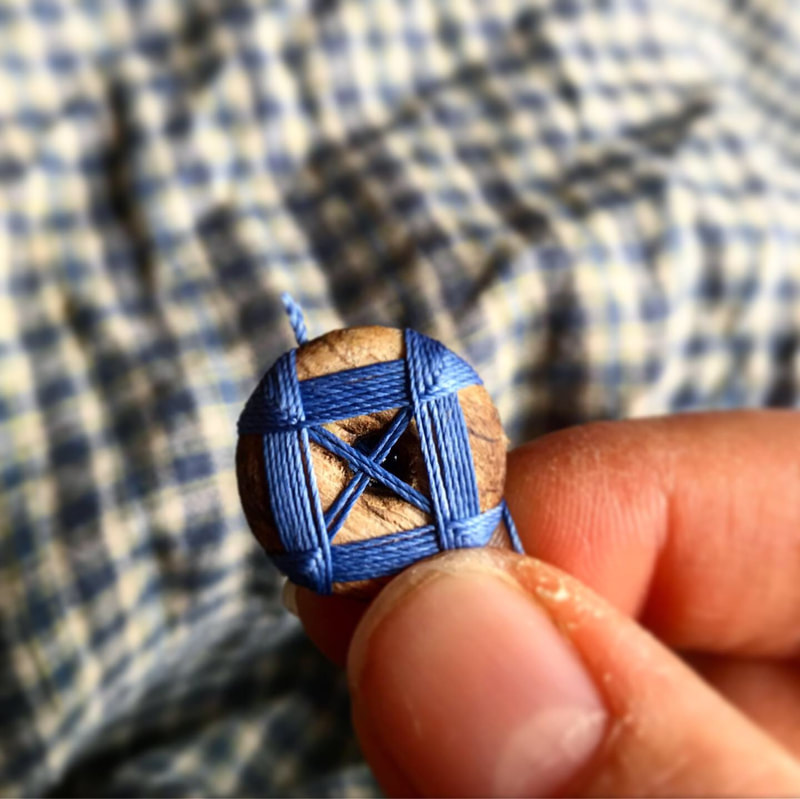
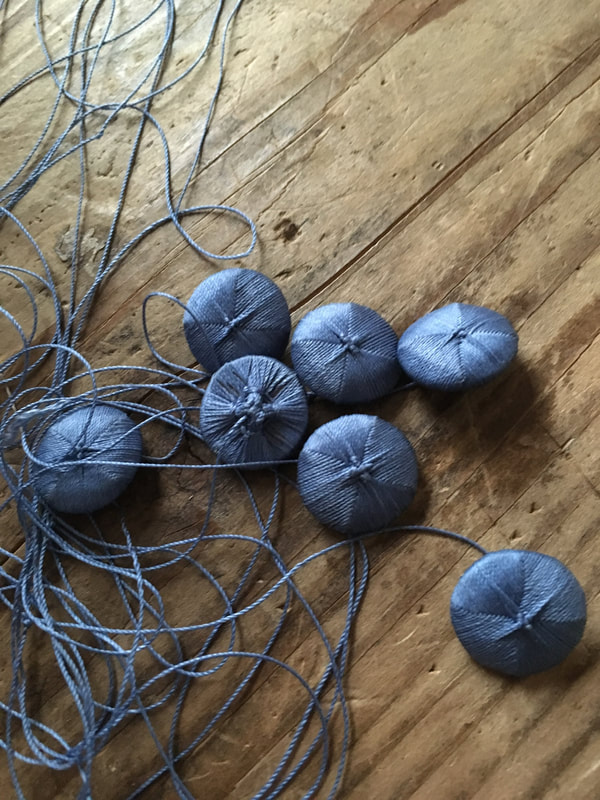
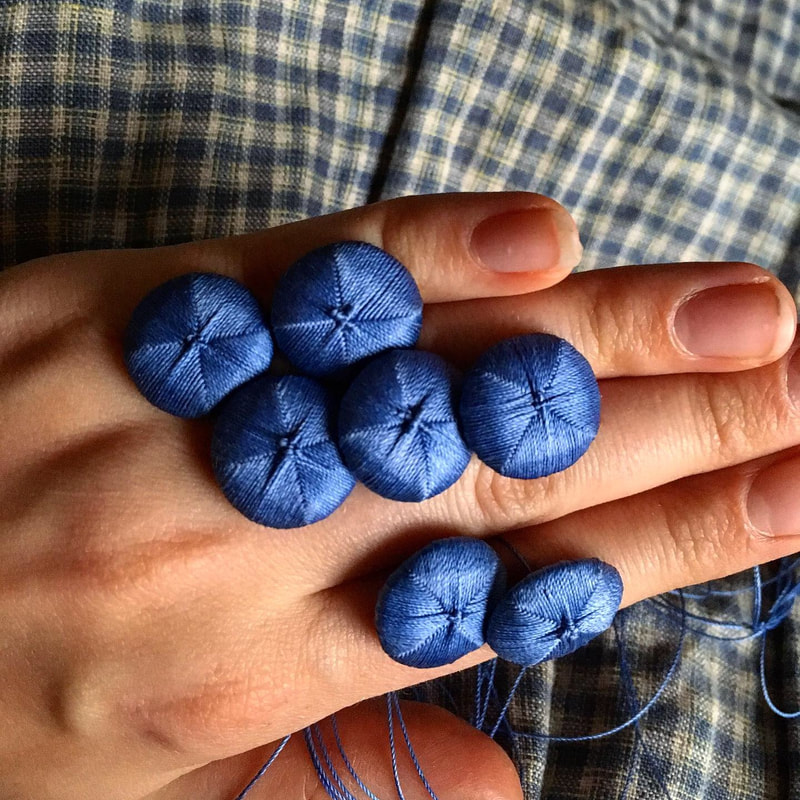
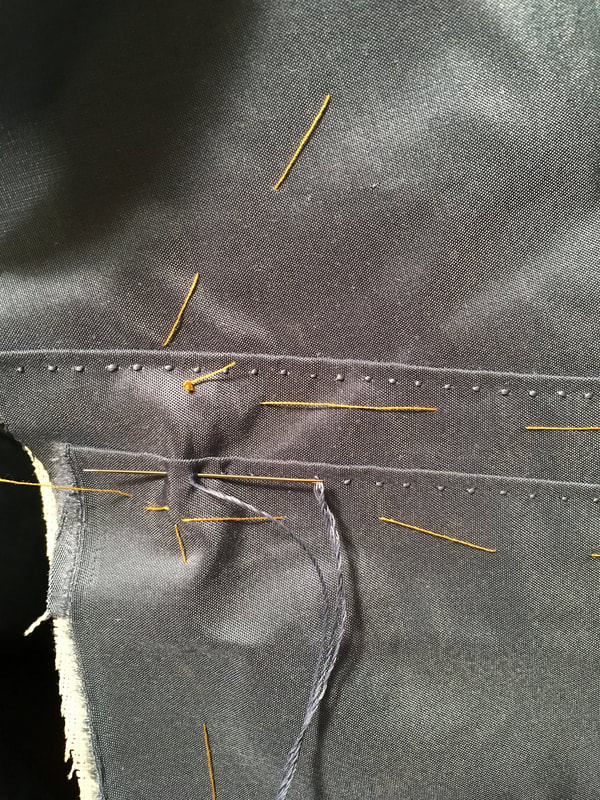
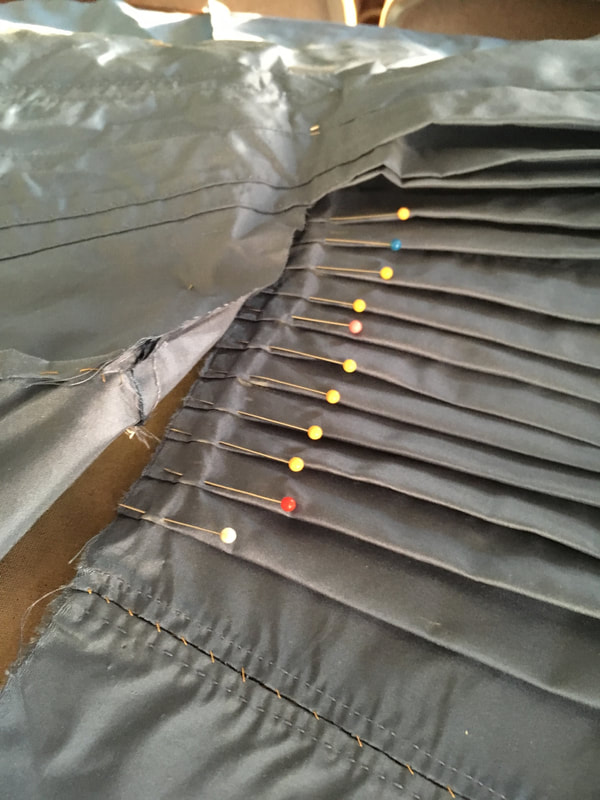
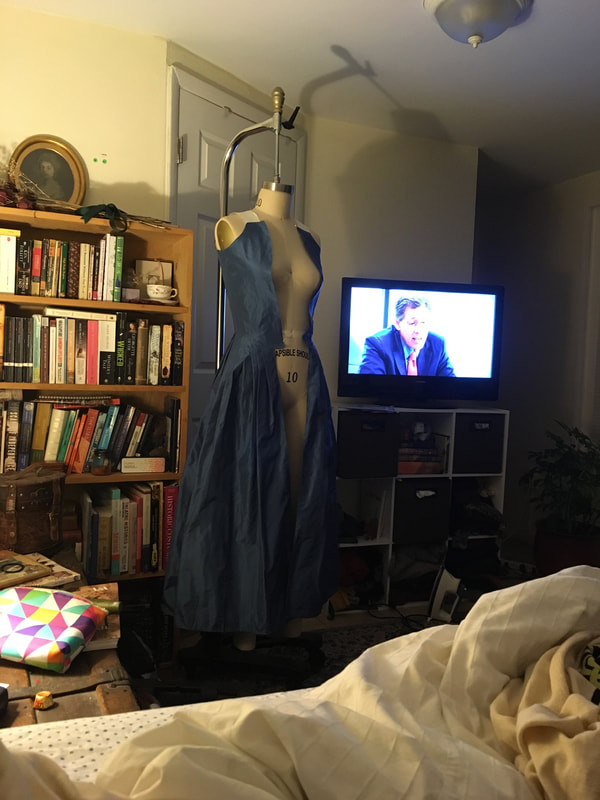
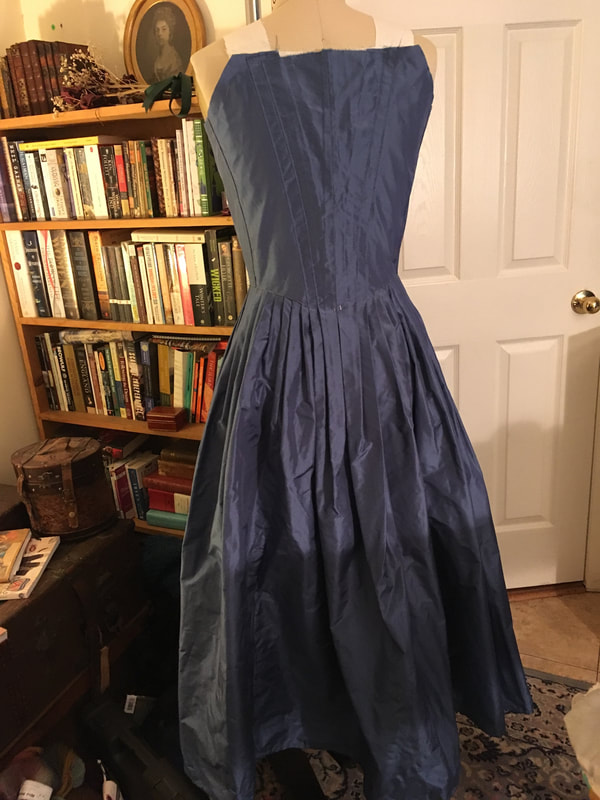
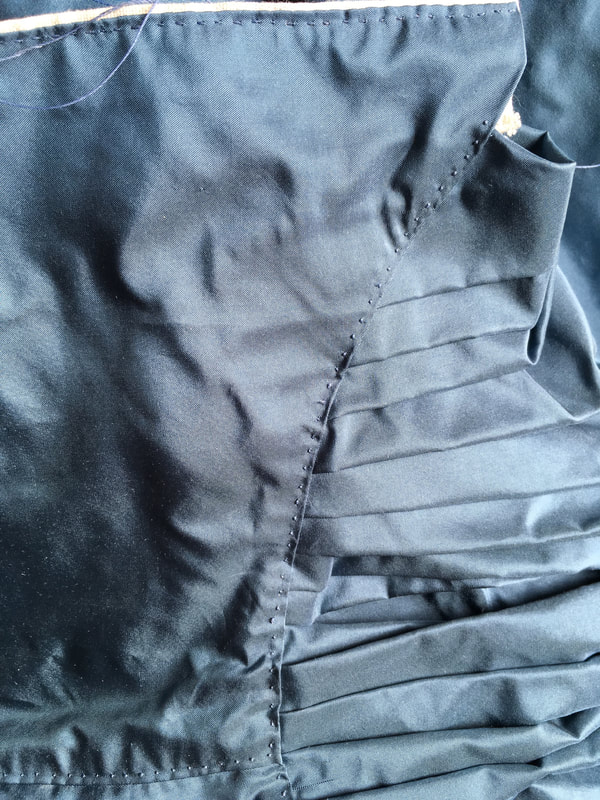
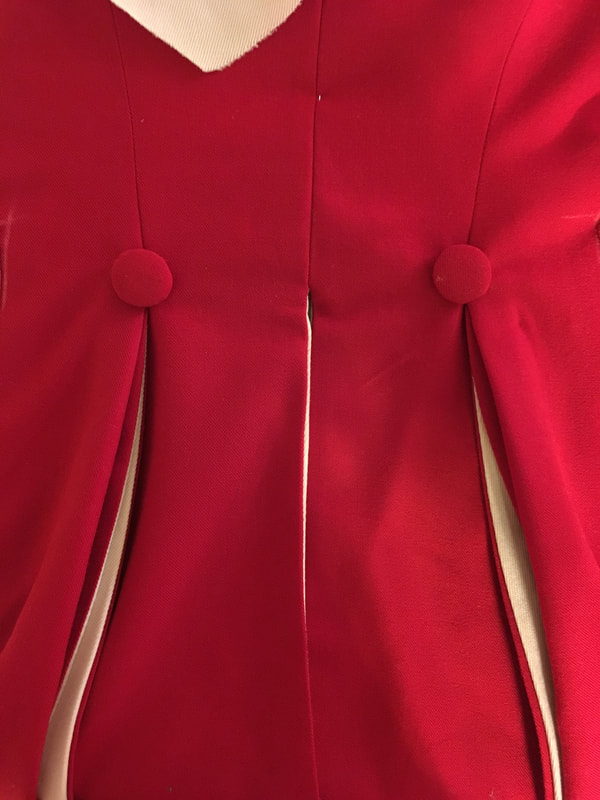
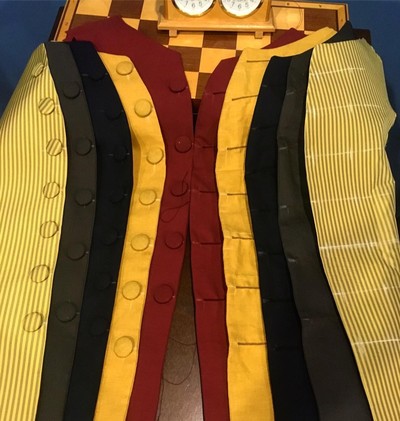
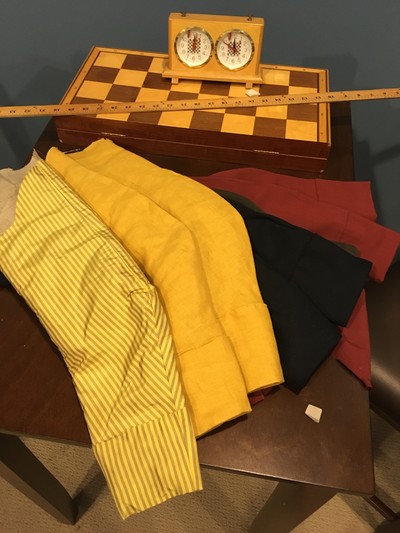
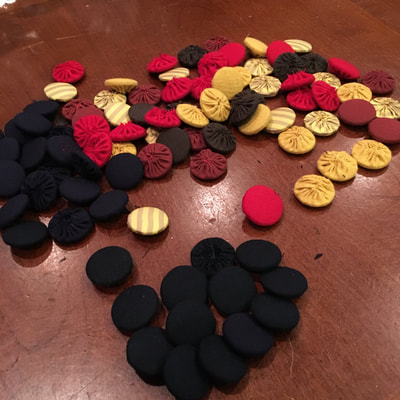
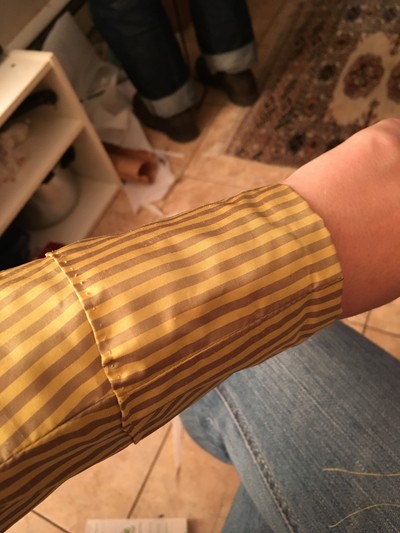
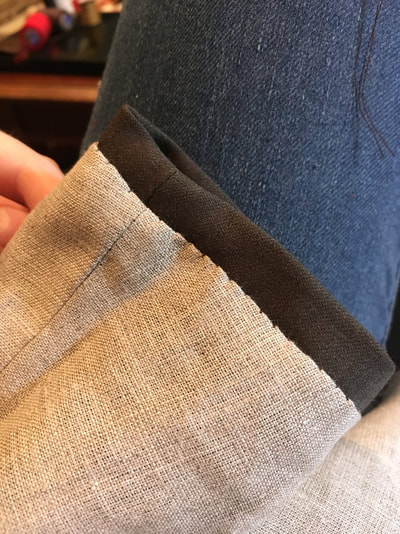
After a cancelled wedding in 202o due to COVID, and a perfect private backyard ceremony, we finally had our wedding this year in May 2022. I don't think there was a specific point at which I decided I would make my wedding dress, because I think I couldn't let myself not do it. This dress was a special project, and I'm glad I had so much time to plan and execute it. When I first envisioned the project, I knew that I wanted everything to be handsewn, so that I would have complete control over every detail and could enjoy the intentionality of each stitch. I began drafting a pattern shortly after we got engaged in 2019. I knew I wanted to splurge on nice linen, so my husband and I went to buy fabric in NYC --the day before everything shut down in the city in March 2020. While we cancelled the official wedding, we did get married in the backyard in May. The cancellation of the wedding gave me lots of time to work on the dress, though I didn't pick it back up until the winter of 2021. The basic shape was inspired by a beautiful linen wedding dress I found online. I adored the simplicity of the silhouette, the ease and utility of the pockets, the casualness of the t-shirt-shaped bodice, and the elegance of the front box pleats. Along with these elements, I incorporated my favorite techniques from eighteenth and early nineteenth-century dressmaking. Reminiscent of gowns from the 1810s and 1820s, I added two curved seams on the back which I prick-stitched with silk, button-hole thread. I also added narrow pleats at the small of my back. After trying my mock-up the first time, I decided a scooped back would be a flattering addition (what reminded me of ballet unitards!) I chose to have linen fabric so I could do narrow hems, crisp, flat-felled seams, and pulled-thread hemstitching. I left the center back closure to last, because I knew I had to do some experimenting. In general, I'm not a fan of zippers, and I love the look of covered buttons. I did end up installing a zipper to give the closure some stability, but I was able to hide it with my covered buttons, and thread button loops. One of the very last additions to the dress was thanks to the problem-solving skills of my genius husband (who is also amazing trained in historical construction techniques!) We wanted to to a swing dance as our first dance, so I knew that I would have to hike up my skirts somehow. After experimenting with a couple ideas (like adding small hooks at buttons around the waistline, by husband pointed out that I should bustle it with tapes inside, like an 18th century polonaise! It was a brilliant save and worked perfectly. Coming soon-- the story of the last minute bridesmaids' dresses!
0 Comments
Hello world! Since I last updated this website, I moved to New York, became the executive director of the local historical society, and married the county historian in the backyard of our historic home that we're renovating! I've done many projects in the last three years, and hope to add them to this page soon.
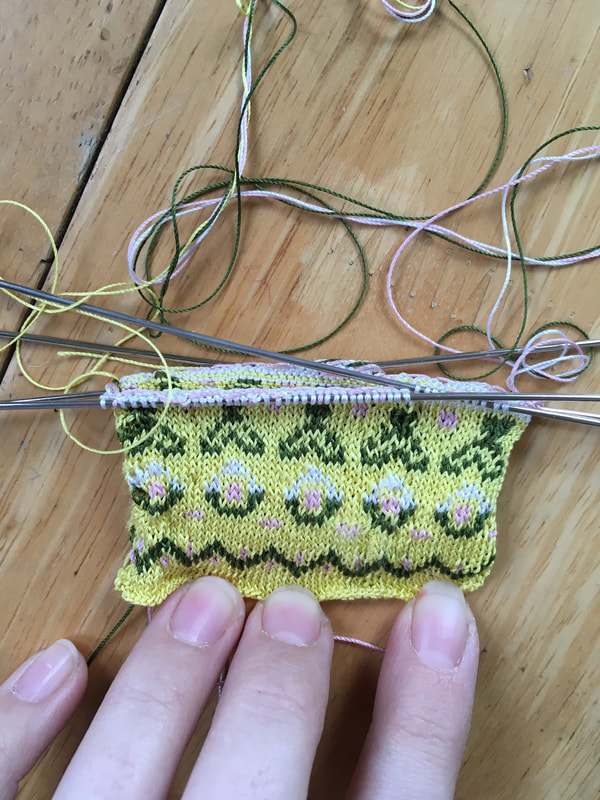
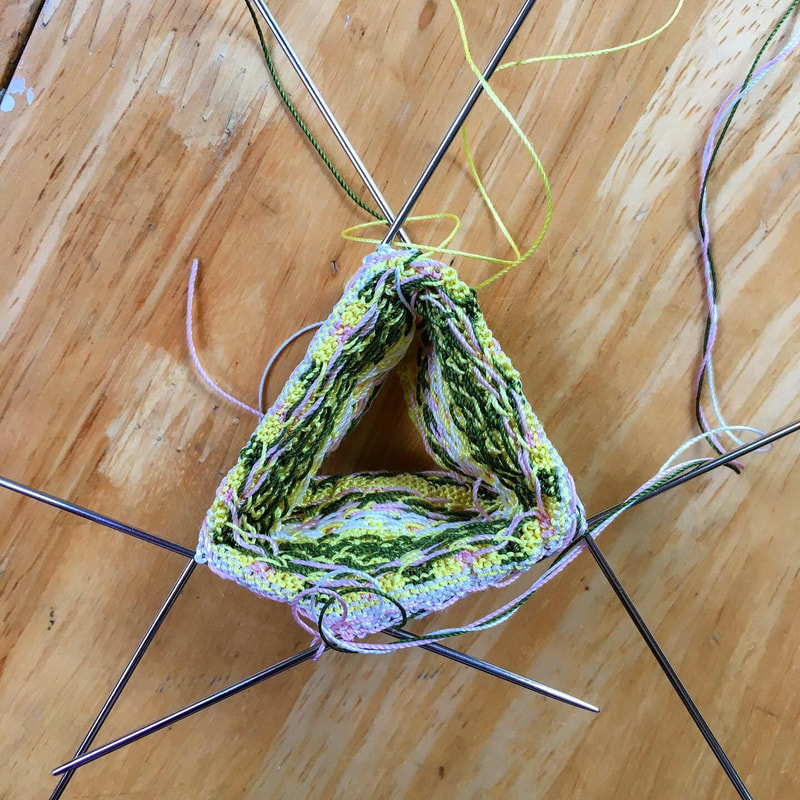
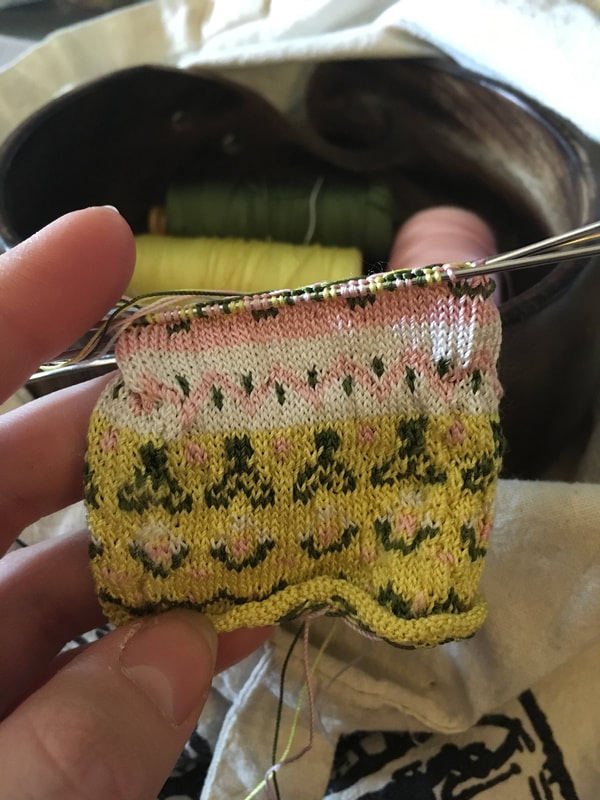
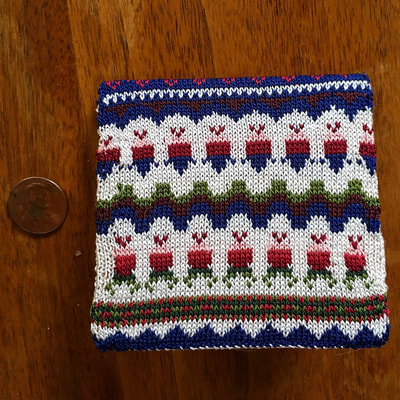
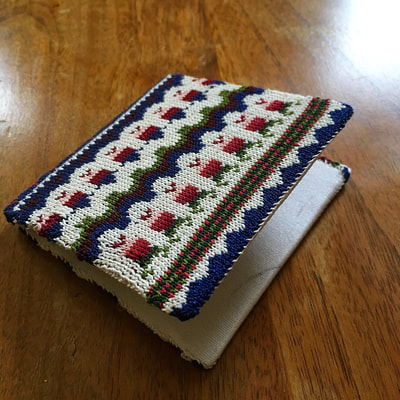
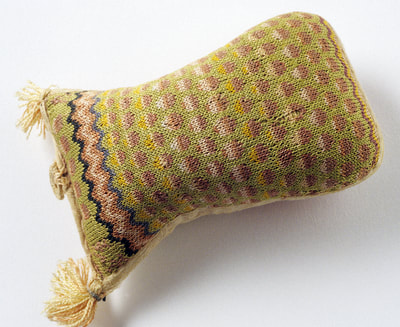
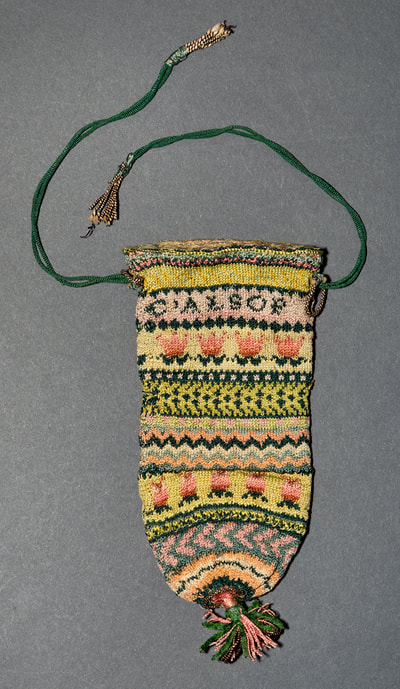
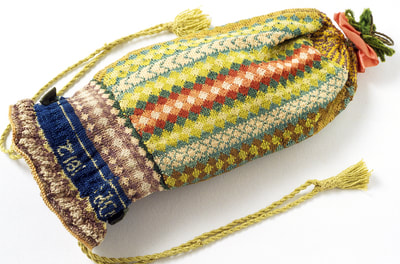
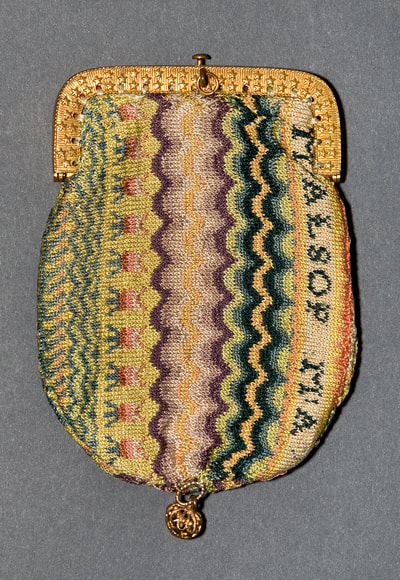
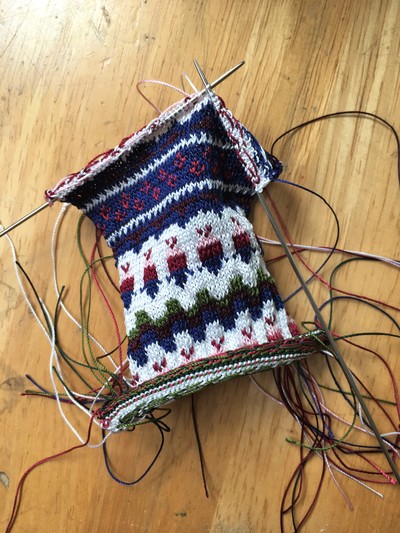
This project is taking a considerable amount of time, because of all the intricate color work! It’s items like this purse that make me wonder “HOW did they do that?” It’s been tricky getting the very slippery silk to stay even when switching colors, but hopefully they will even out with a bit of blocking. The knitting is not even the hard part, as I am still trying to learn how to net for the next section!
I finished the gown in time for the event! Unfortunately, I didn’t have time to do the stomacher, which I’d like to have nicely worked, functional buttonholes. I have started the process of learning how to make death’s head buttons for the eventual stomacher. I also need to decide how i’d Like to finish off the trim!
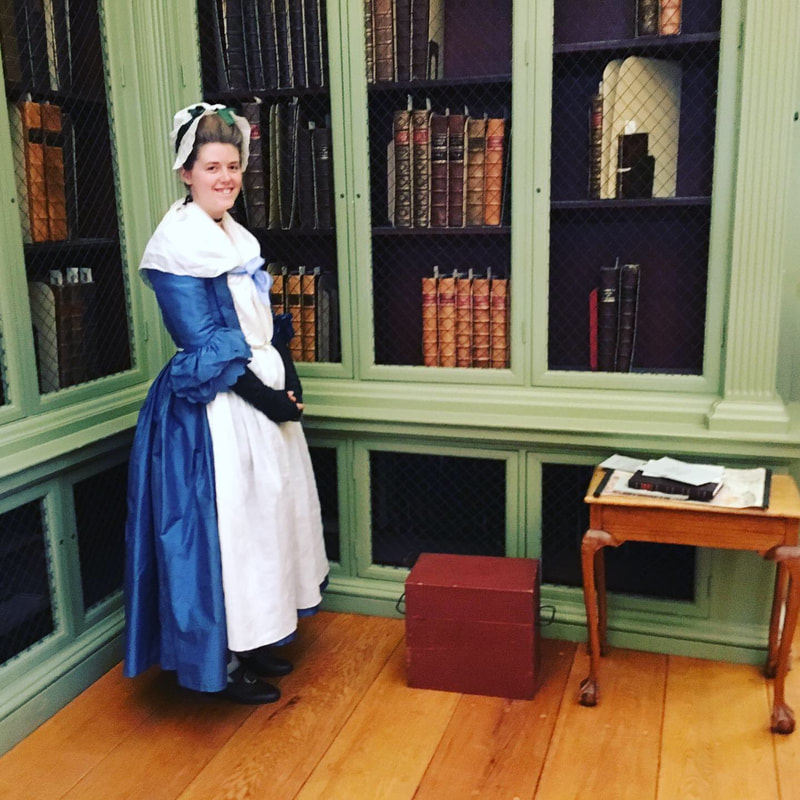
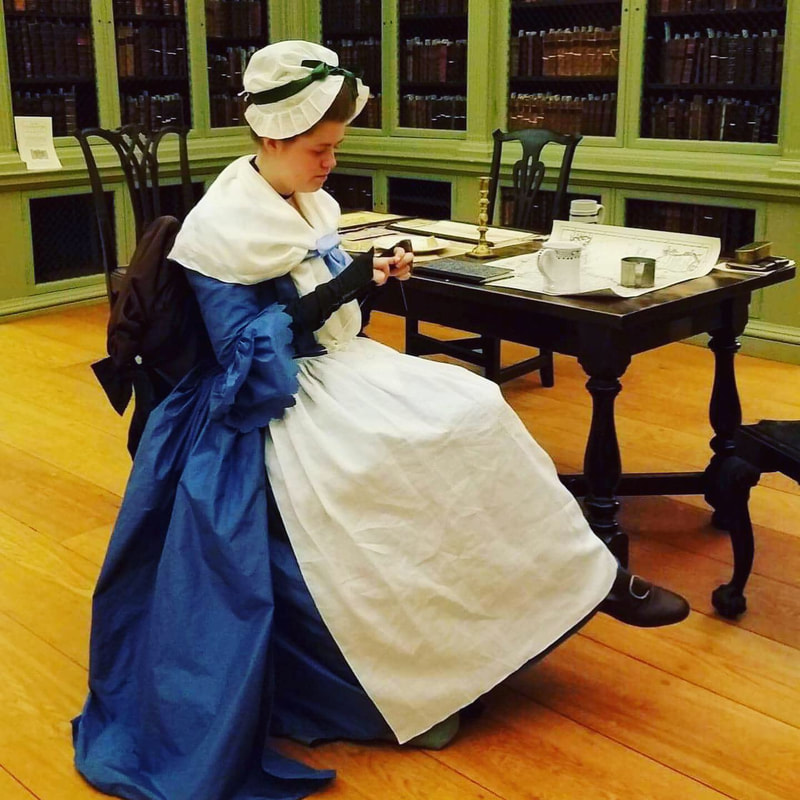
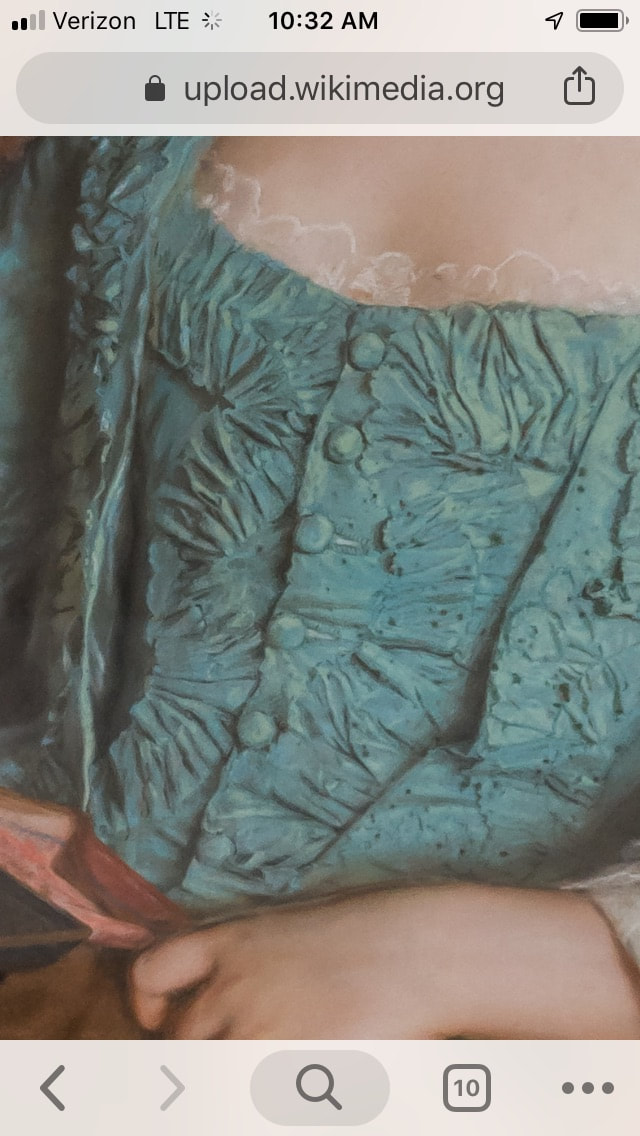
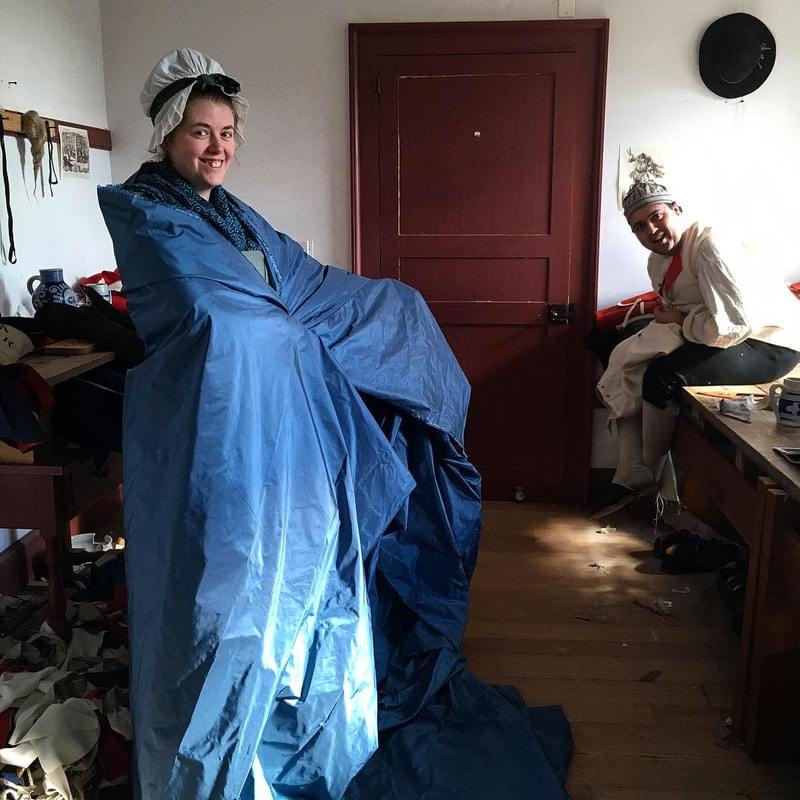
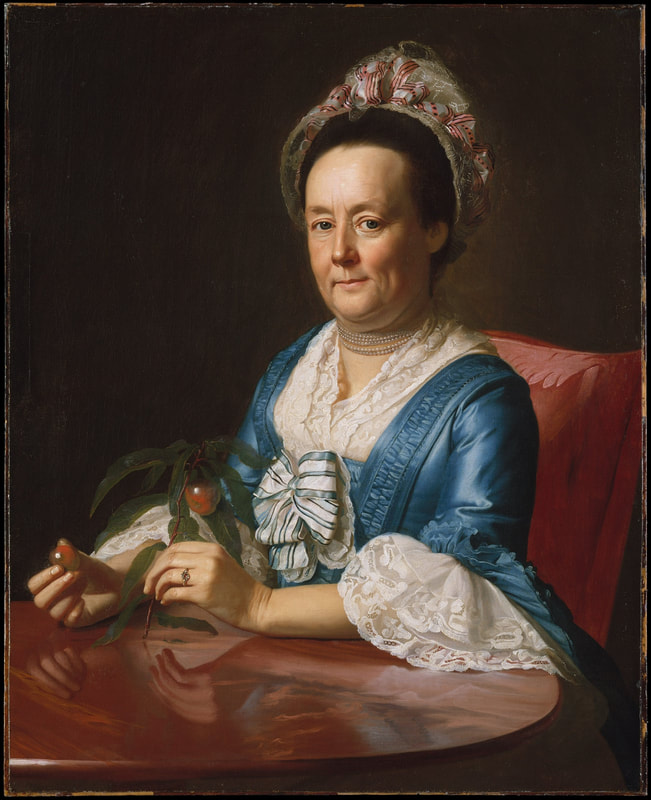
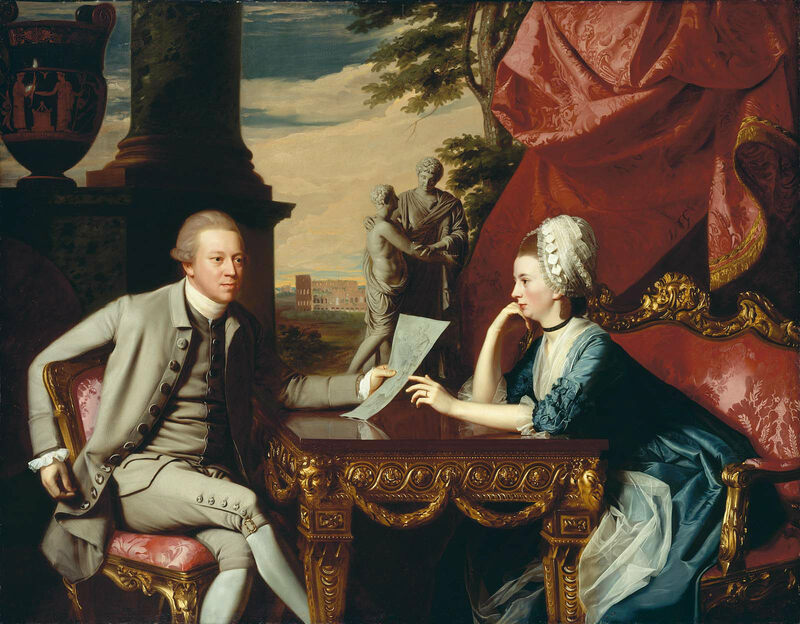
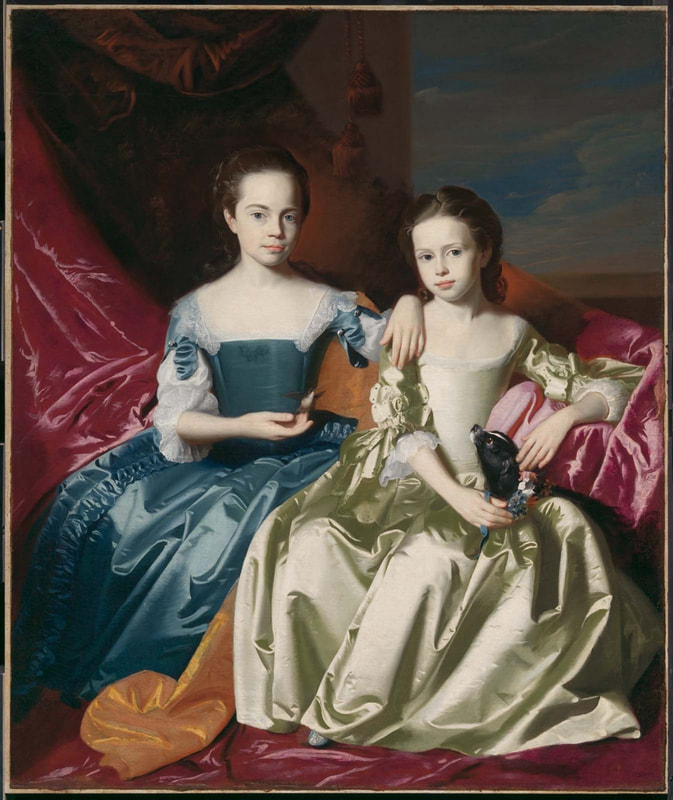
Now that the Museum of the American Revolution project is done, I am moving on to a blue silk gown a la John Singleton Copley! Can I get it done in two weeks in time for the an event at the Redwood Library in Newport, RI?
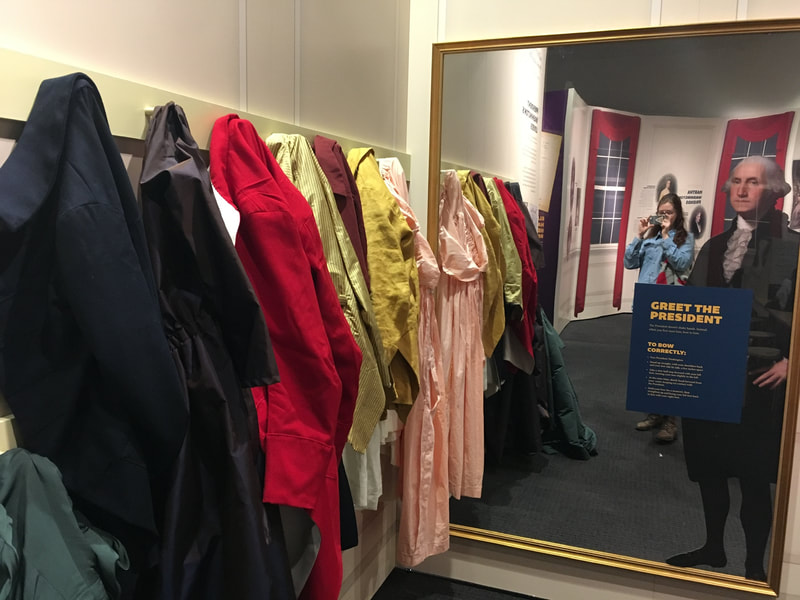
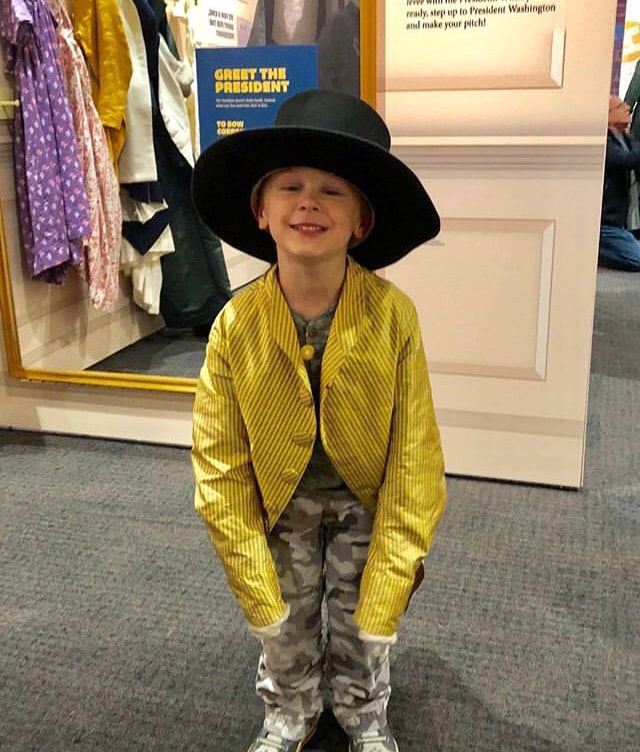
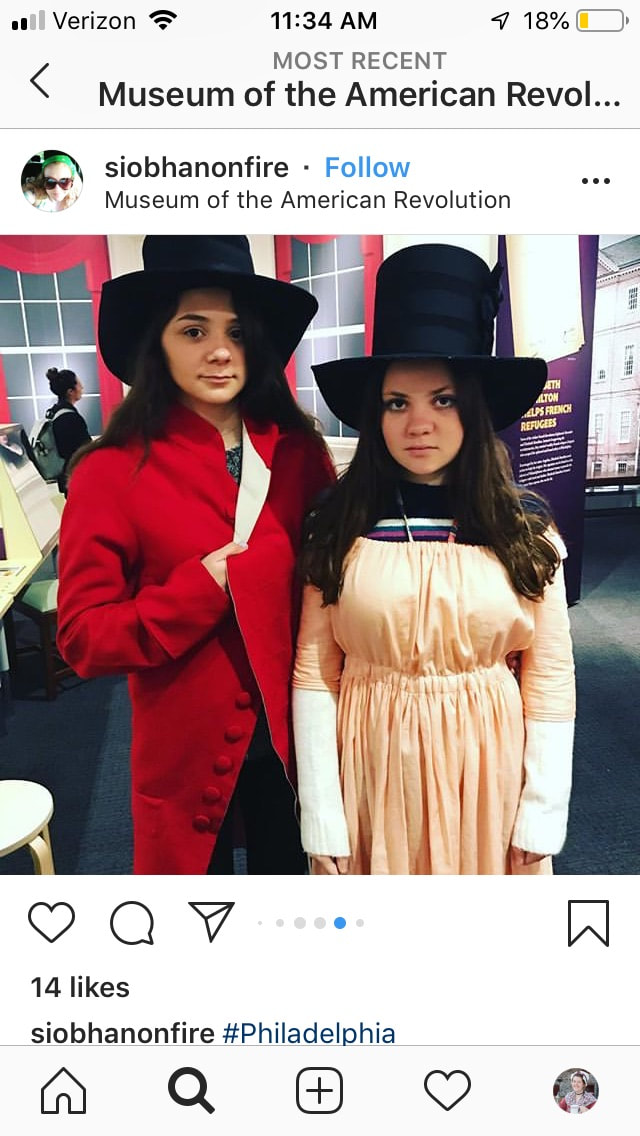
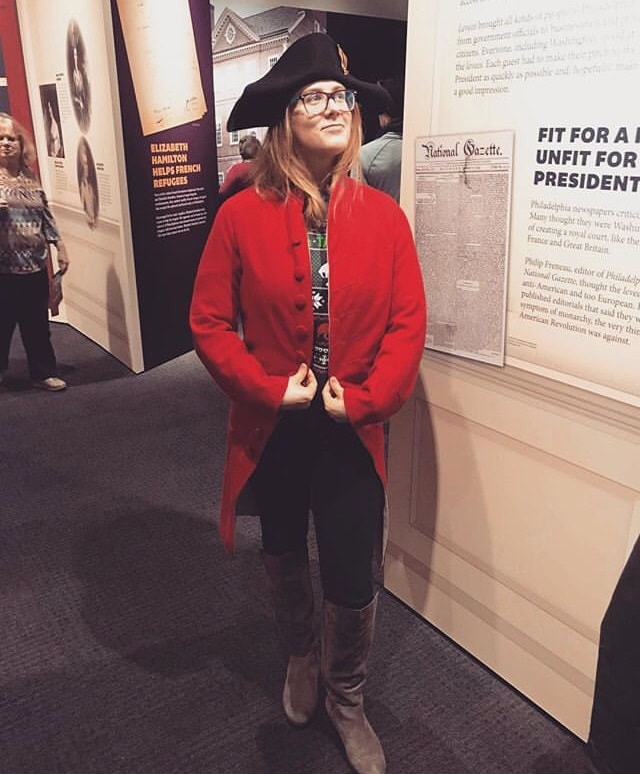
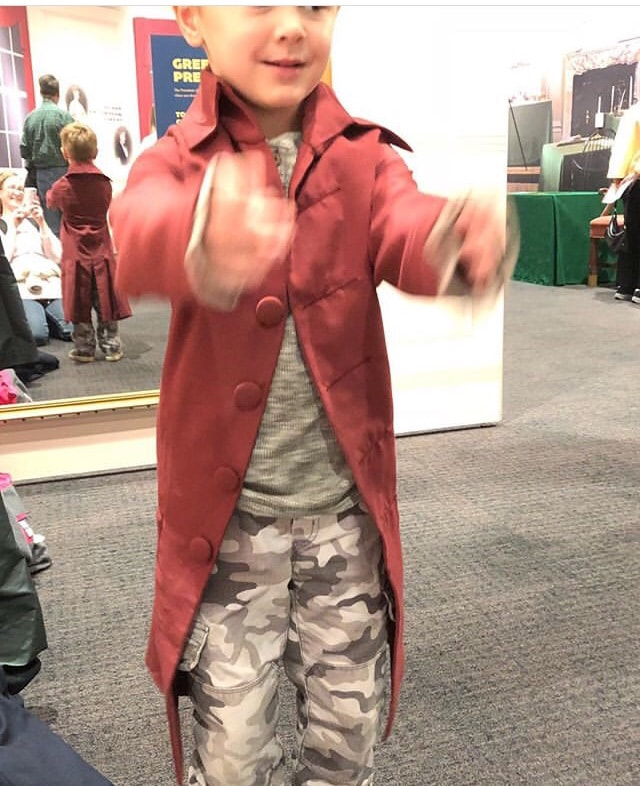
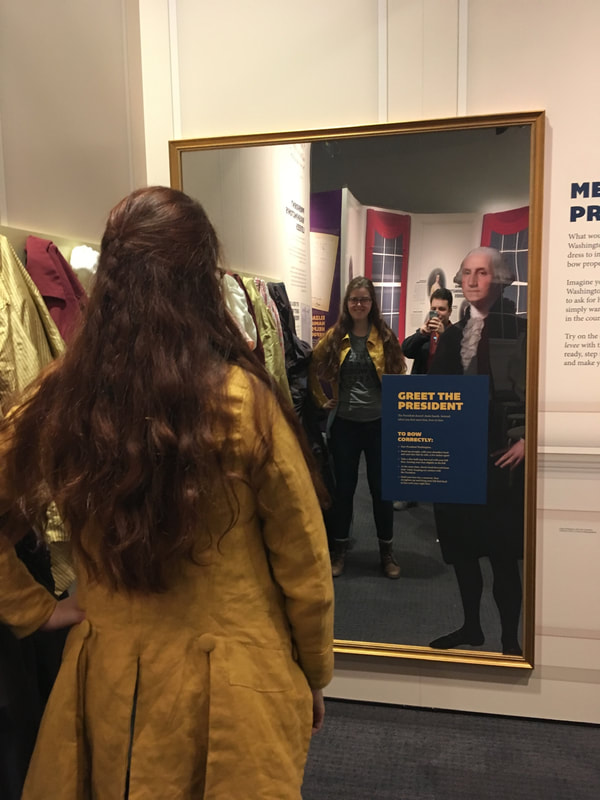
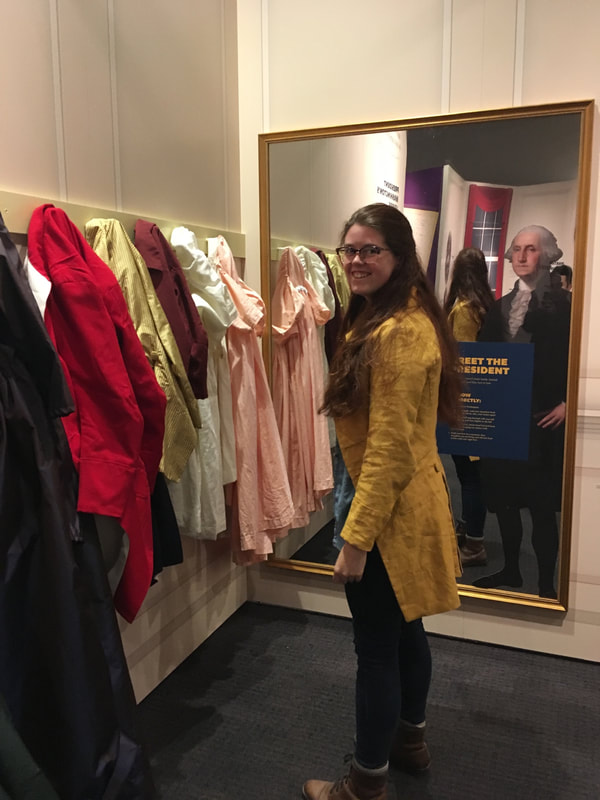
This was such a fun project and its great to see the coats in use in the interactive exhibit, “Hamilton Was Here!”
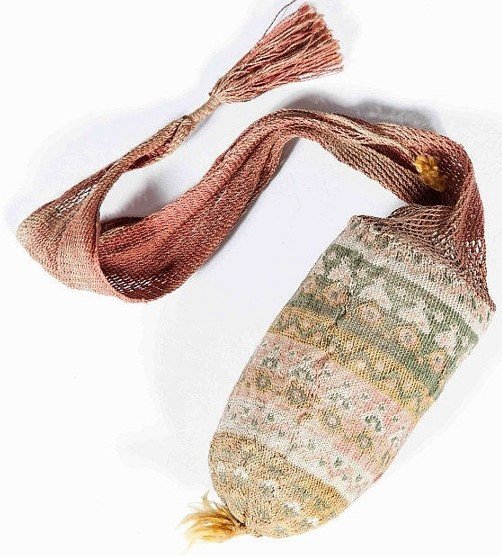
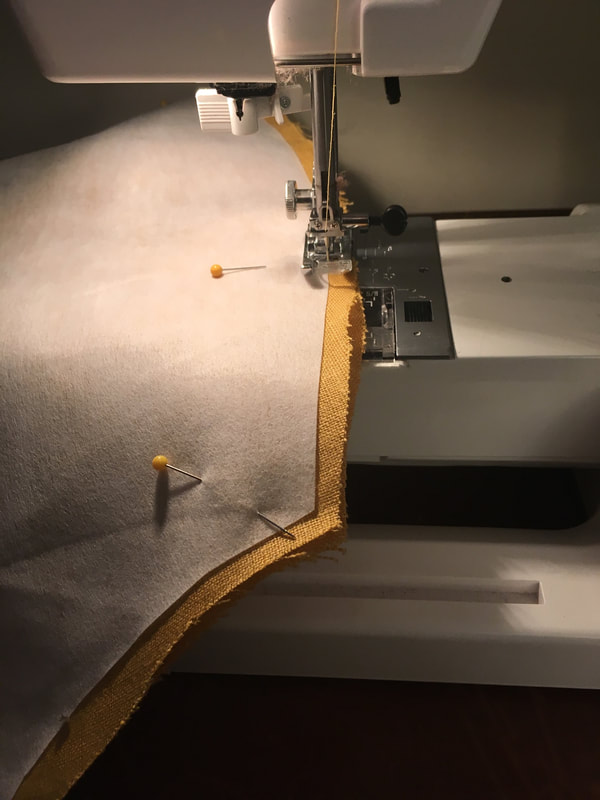
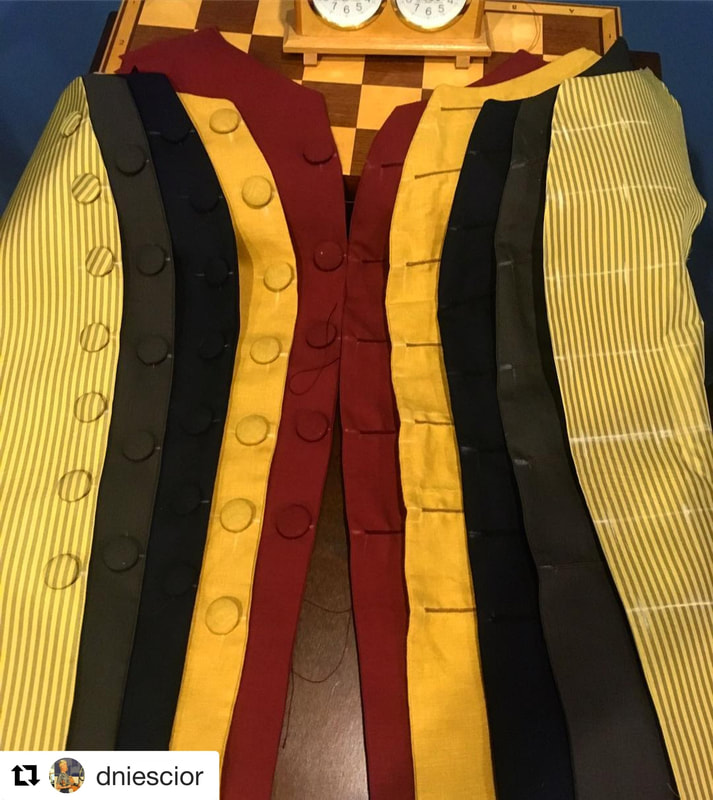
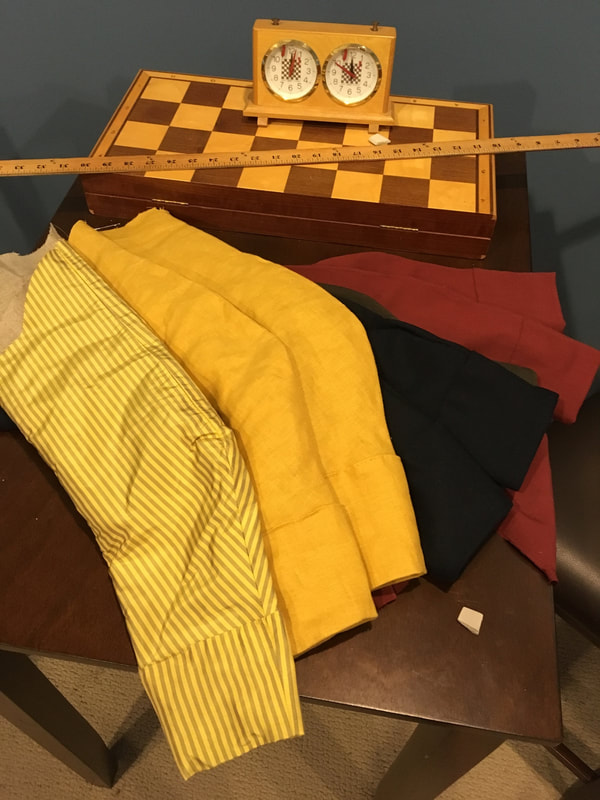
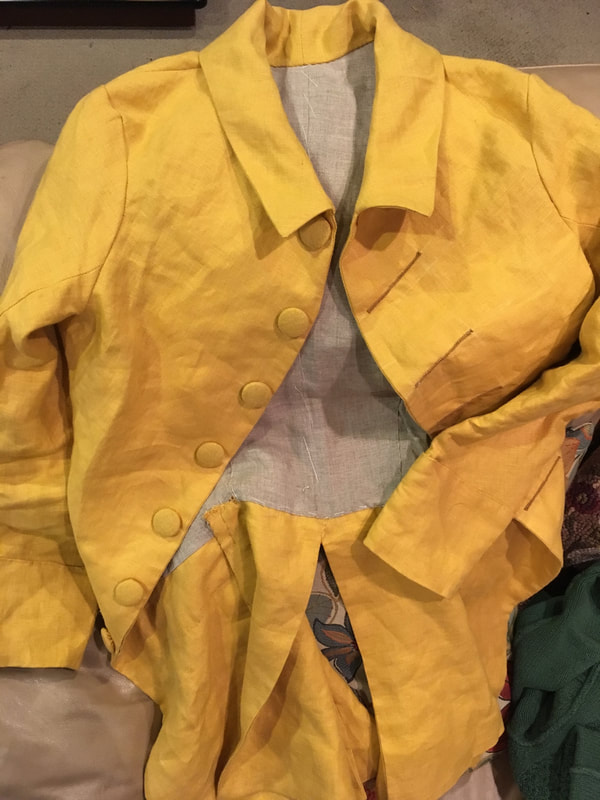
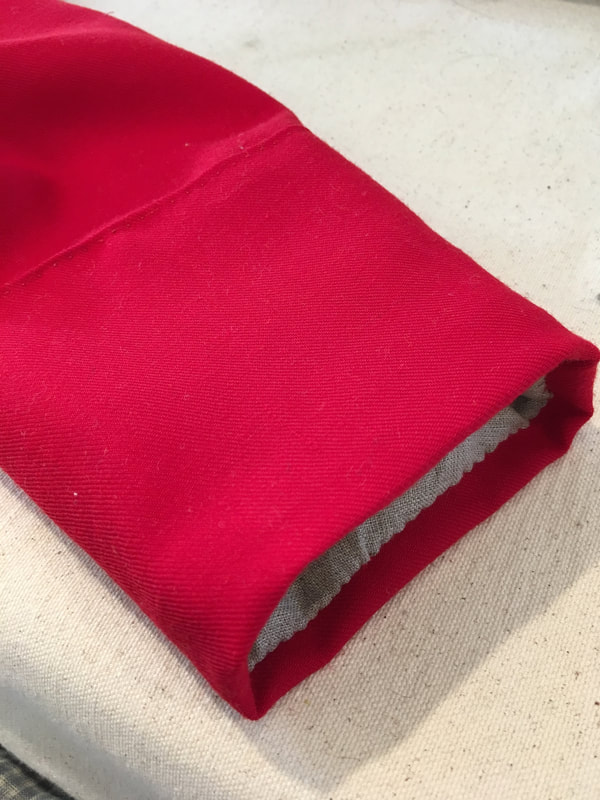
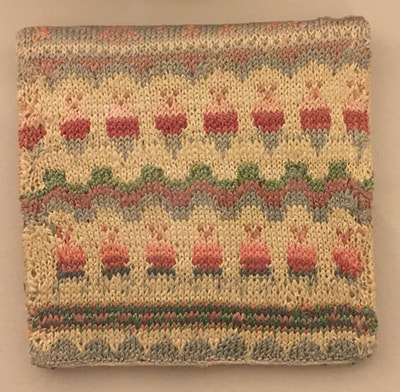
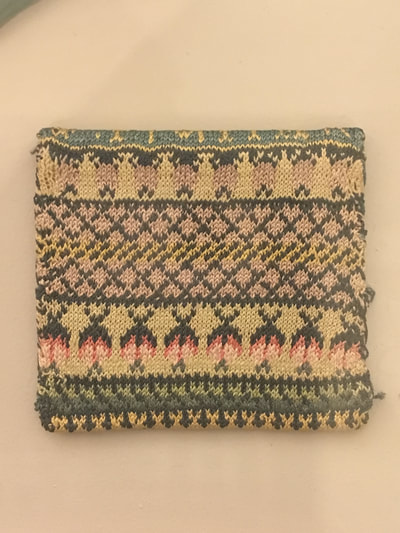
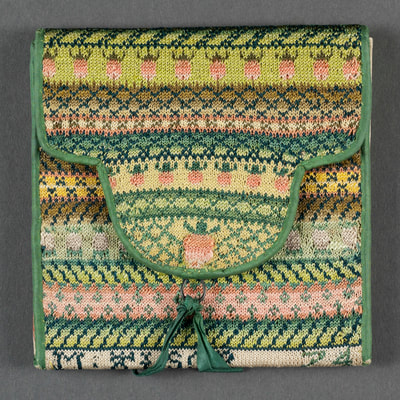
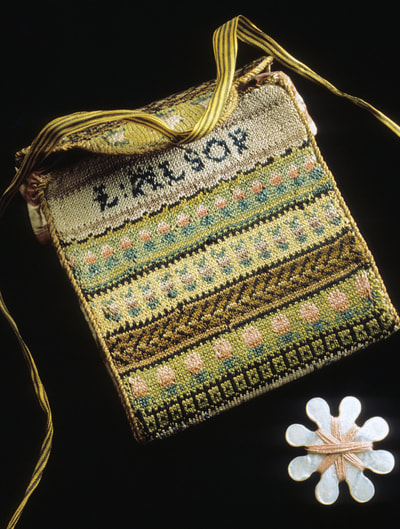
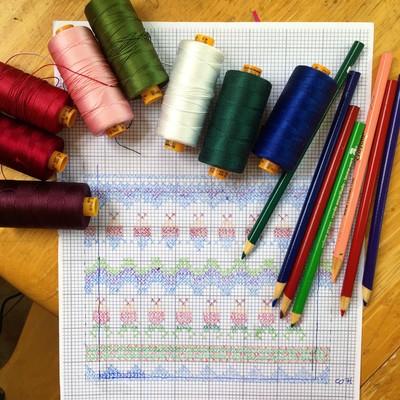
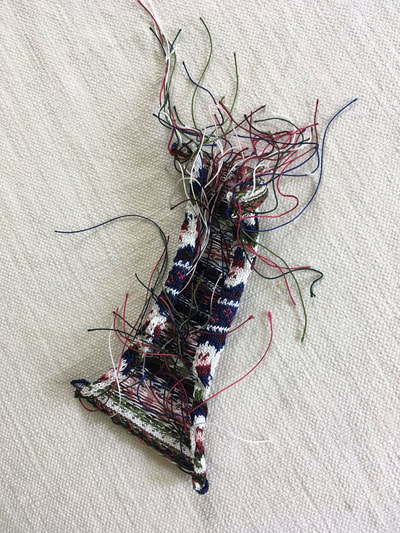
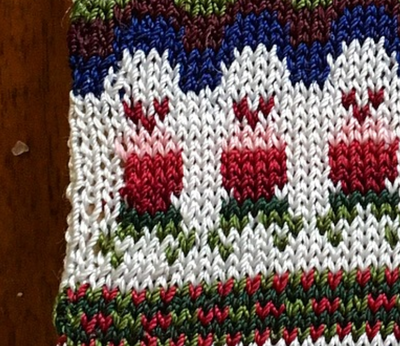
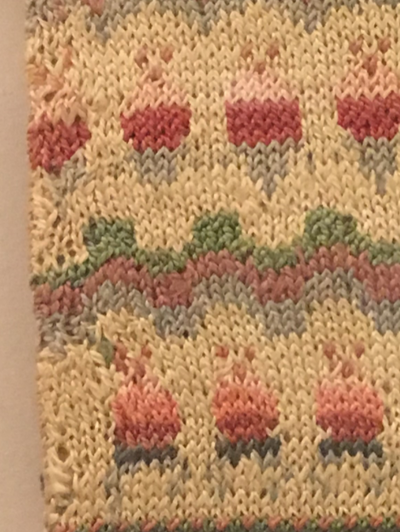
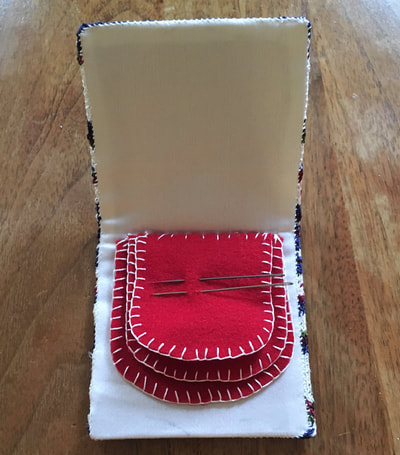
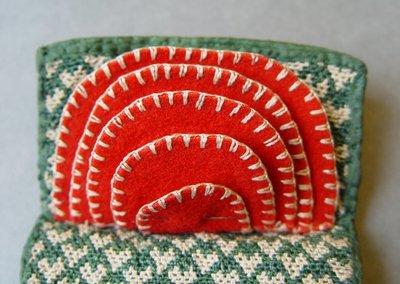
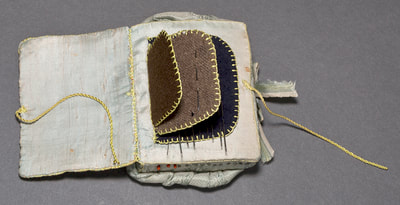
Read more about the exhibit. I'm currently working on a project with a coworker making 1790's coats for the Museum of the American Revolution in Philadelphia. We're working on adult and children try-on coats for their upcoming interactive exhibit "Hamilton Was Here." These coats are mostly machine-made with hand finishing. I'll be posting progress photos as we work! In March, I visited the Concord Museum to see their exhibit "Fresh Goods: Shopping for Clothing in a New England town, 1750-1900." It was there that I discovered two beautiful knit needlecases made by Mary Wright Alsop (1740-1829). As soon as I saw them, I knew that I would have to try my hand at reproducing them! My Reproduction: It turns out that Mary's style was very distinctive. Other examples of her work in Winterthur's collection show the consistency in the patterns and colorwork she used across her needlework. Before I began knitting, I had to map out the designs on a chart. I assume that Mary's knowledge and repeated use of designs means that she did all this work by memory. The problem I did encounter when finally began to knit was all of the tedious ends of silk that would eventually have to be woven in! Keeping the tension loose was also tricky, however one of the things I love about the original needlecase is that you can see we both had the same tension issue at the edges of the work. As for the inside of the needlecase, I had to do a bit of guesswork, as I did not see the inside of the original. I used silk satin as the lining, along with red felt pieces for the needles--all very typical in other extant needlecases.
|
